
Installing a radiant heating system is a strategic investment to improve thermal comfort and optimize energy efficiency in a building. Whether for a residence or a professional space, the success of this project depends on a number of essential steps. Proper planning and execution of these steps will ensure optimal, long-lasting results.
In this article, we’ll detail the main phases of a radiant heating system installation, with a particular focus on the Modular Radiant Ceiling (PRM) and the Gypsum Radiant Ceiling (PRP).
Steps for installing a radiant heating system
The installation of a radiant heating system follows a well-defined process that includes several important steps.
- Thermal needs assessment
Before getting started, it’s crucial to carry out a complete thermal assessment of the space to be heated. This assessment helps determine the power required to guarantee adequate thermal comfort. The type of building, its insulation, the surface area to be heated, and the use of the space all influence system design. - Selecting a heating system
Once you’ve identified your needs, you need to choose the right type of radiant heating system. For large areas or professional environments, the Modular Radiant Ceiling (PRM) is often recommended for its efficiency and ability to heat evenly. The Plaster Radiant Ceiling (PRP), on the other hand, is ideal for spaces requiring aesthetic integration, such as modern residences. - Preparing the space and the ceiling
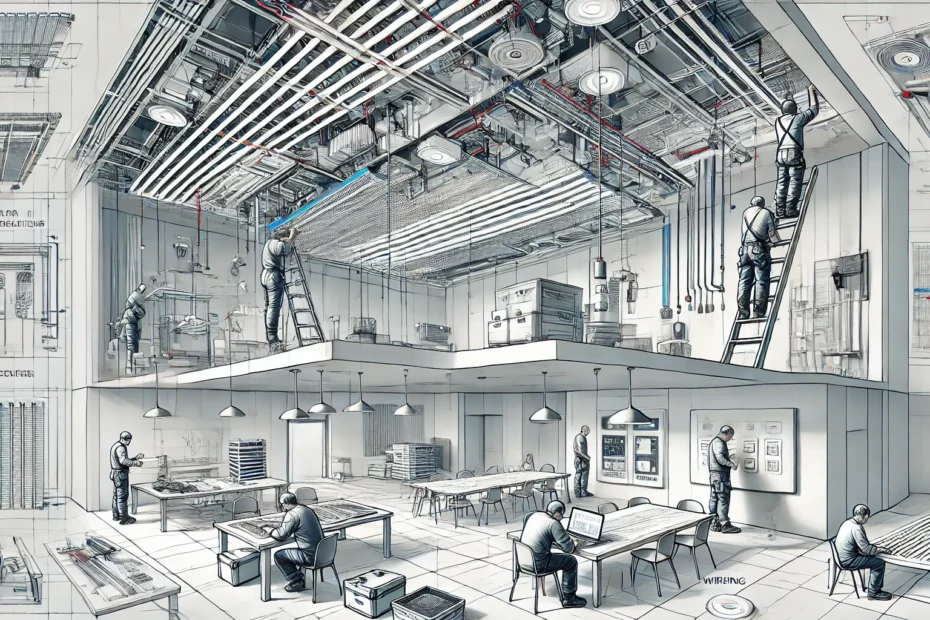
Prior to installation, it is necessary to prepare the space by ensuring that the ceiling is in good condition to accommodate the panels or modules. This includes checking the electrical infrastructure and the layout of the space to enable optimum installation of the radiant panels. It is also essential to plan the locations of thermostats and other control devices. - Installation of radiant panels
Installation of the radiant panels or modules is the central phase of the project. The PRM or PRP panels are fixed directly to the ceiling, according to the plans drawn up during the thermal assessment. This stage must be carried out by qualified professionals to ensure safe, compliant installation. - Connection and configuration
Once the panels have been installed, they are connected to the electrical system and thermostats. This phase includes configuring the control systems to enable precise temperature management in each heated zone. For PRM and PRP systems, it is often possible to configure separate heating zones for optimized control.
Optimizing the efficiency of a radiant heating system
To get the most out of a radiant heating system, it’s important to follow certain best practices, both during installation and afterwards.
- Insulate spaces properly: Good building insulation reduces heat loss and optimizes the efficiency of the heating system.
- Configure heating zones: Zoning allows you to adapt the temperature to each room or space, thus avoiding energy wastage in low-occupancy areas.
- Use programmable thermostats: These devices regulate the temperature according to the use of the space, guaranteeing constant comfort and energy savings.
Radiant heating: a sustainable solution for every project
Whether for residential or professional use, installing a radiant heating system offers clear advantages in terms of thermal comfort and energy savings. By following the right installation steps and optimizing the system with best practices, you can achieve a high-performance, long-lasting heating solution.
Modular Radiant Ceilings (PRM) and Gypsum Radiant Ceilings (PRP) are technologies particularly well suited to a variety of spaces, offering both aesthetic integration and first-rate thermal efficiency.